Step 1: Drawing the layout of warehouse
- Select the Top view.
- Draw a square of 51.6 m by 51.6 m.
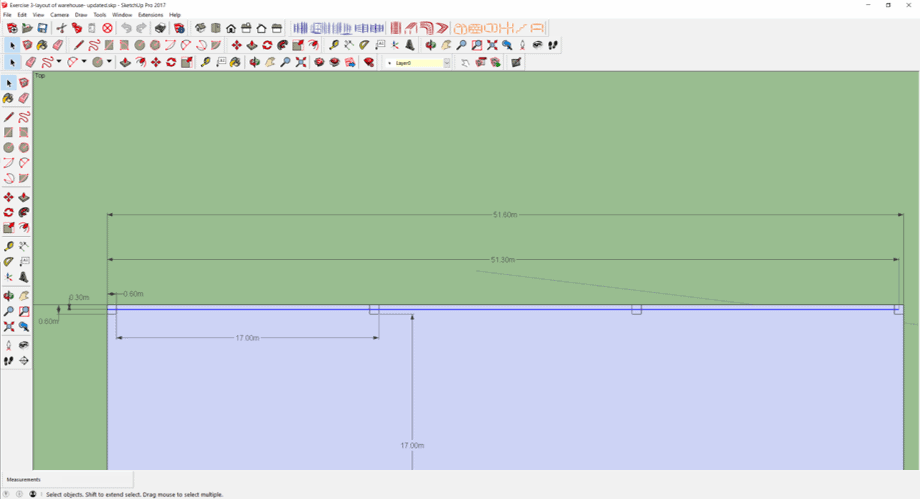
- On the top left hand corner, draw a square of 600 mm by 600 mm.
- Select the 4 sides of the small square.
- Click Move icon. Press "Ctrl".
- Click within the small square.
- Move the mouse to the right.
- Type in 17,000 mm. Press "Enter".
- Type in 3x. Press "Enter".
- Select the 4 small squares.
- Click Move icon. Press "Ctrl".
- Click corner of one small square.
- Move the mouse downwards.
- Type in "17,000 mm". Press "Enter".
- Type in "3x". Press "Enter".
- Using Tape Measuring icon, mark out 300 mm downwards from the top left hand corner.
- Click on the Line icon.
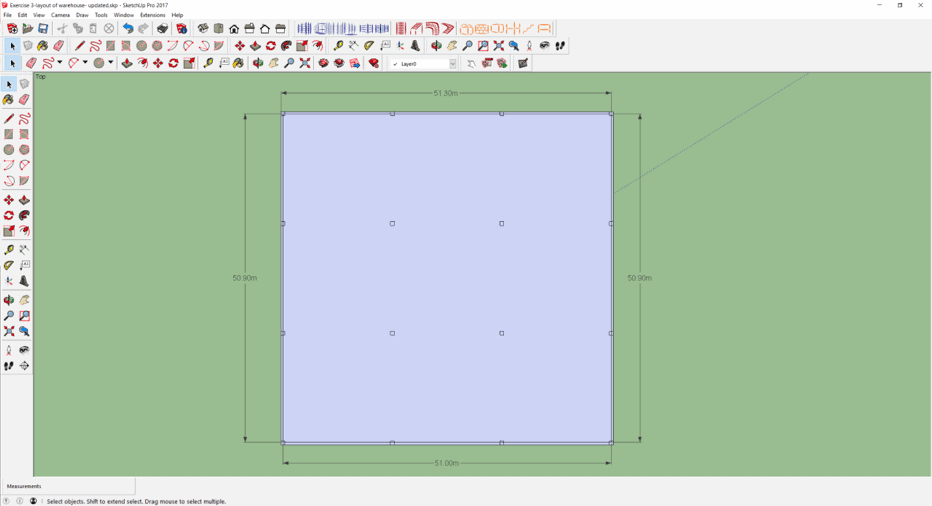
- Draw a line of 51.3 m horizontally from the mark.
- From the right end of the line, draw a 2nd line downwards with length 50.9 m.
- From the lowest end of the 2nd line, draw a 3rd line from right to left with length 51 m.
- From the left end of the 3rd line, draw a 4th line upwards with length 50.9 m.
- Delete the lines within the small squares.
Step 2: Creating a 3D warehouse
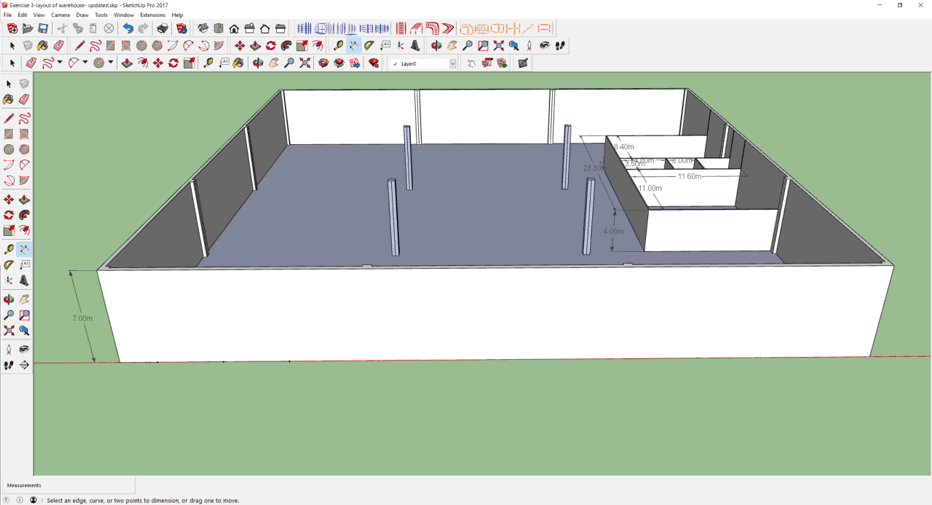
- Click on the Push/Pull icon and pull the wall upwards by 7 m.
- Pull the columns by 7 m.
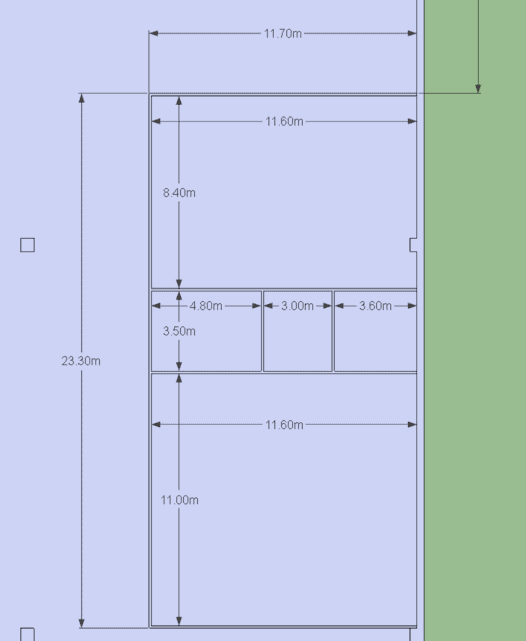
- For the office walls, pull upwards by 4 m.
- Delete away unnecessary lines.
Step 3: Adding roller shutters and doors
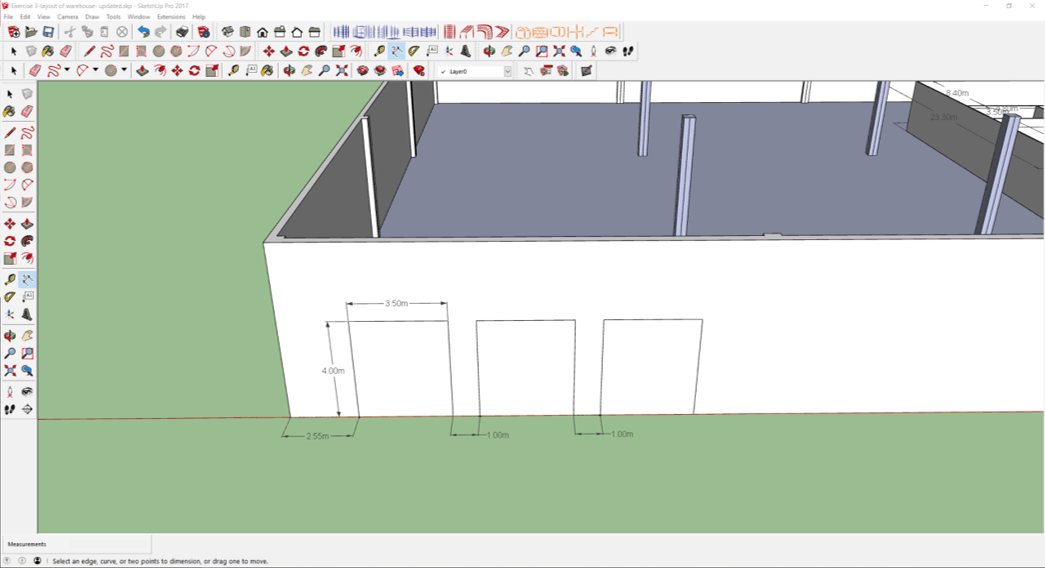
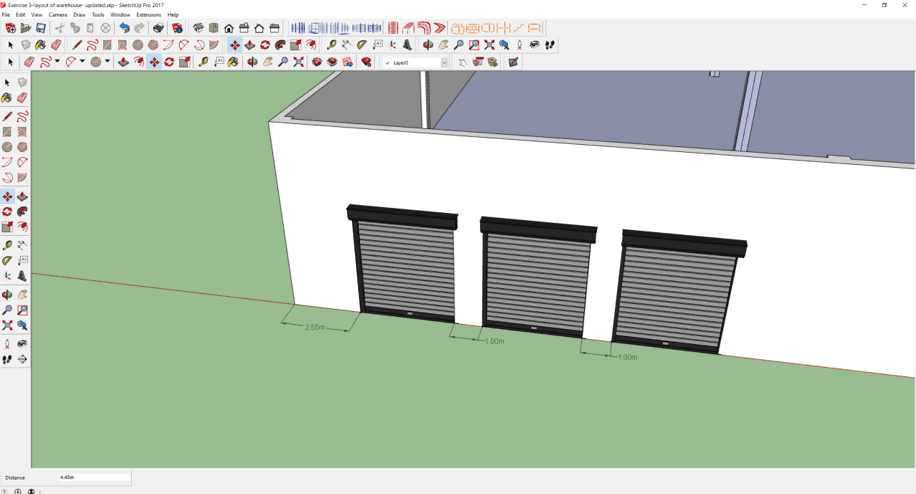
- Select Tape Measuring icon.
- Mark out 2.55 m from the left bottom corner.
- Draw a rectangle of 4 m by 3.5 m.
- Draw 2 more similar rectangles 1 m apart from one another (There are a few ways to do this).
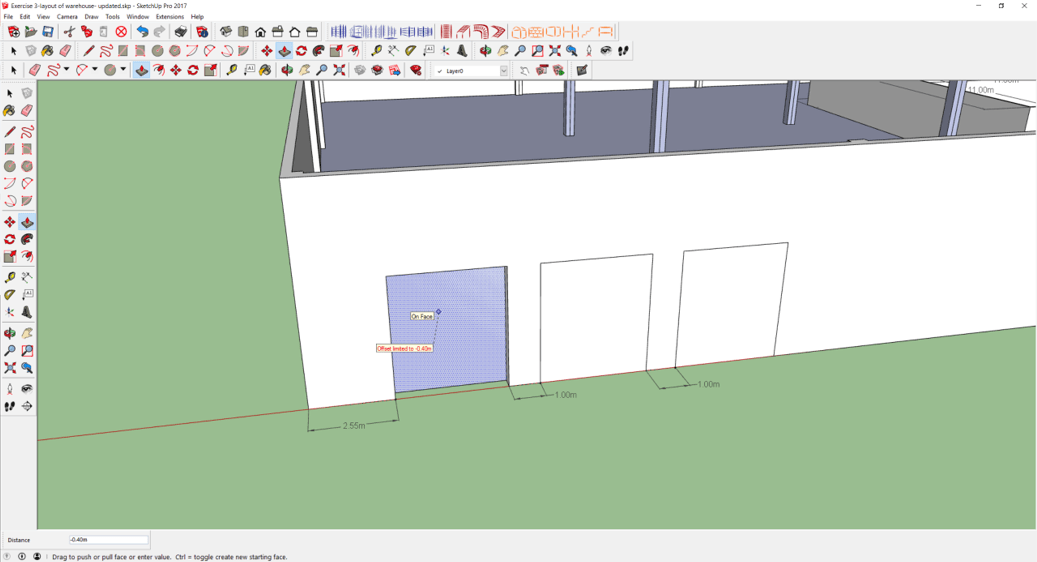
- Click on Push/Pull icon.
- Click on the rectangle and push it in till the message box "On Face" appears.
- Repeat the above step for the remaining rectangles.
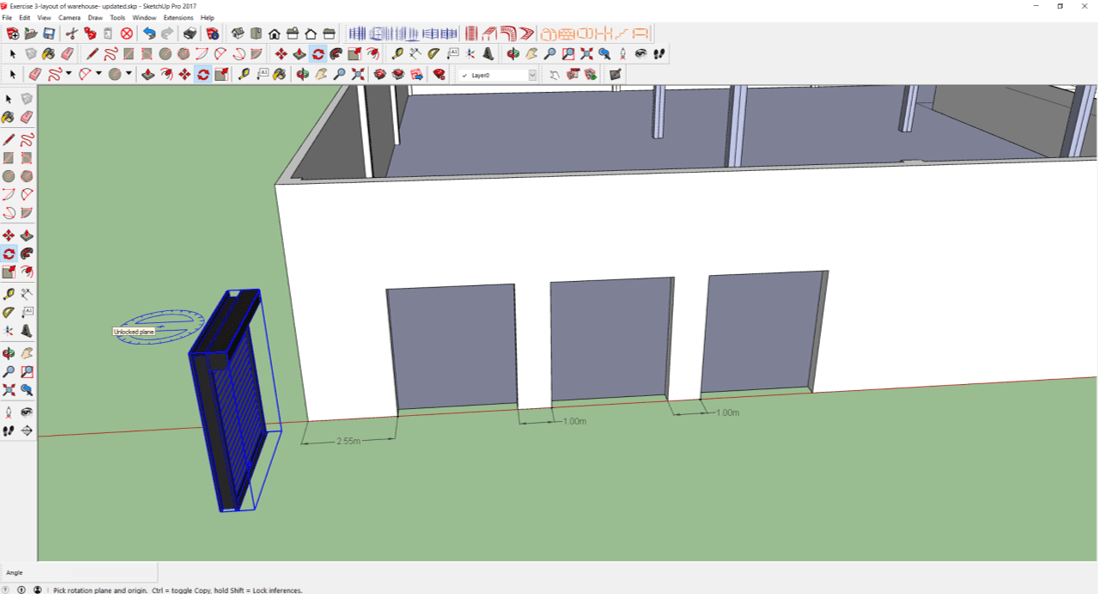
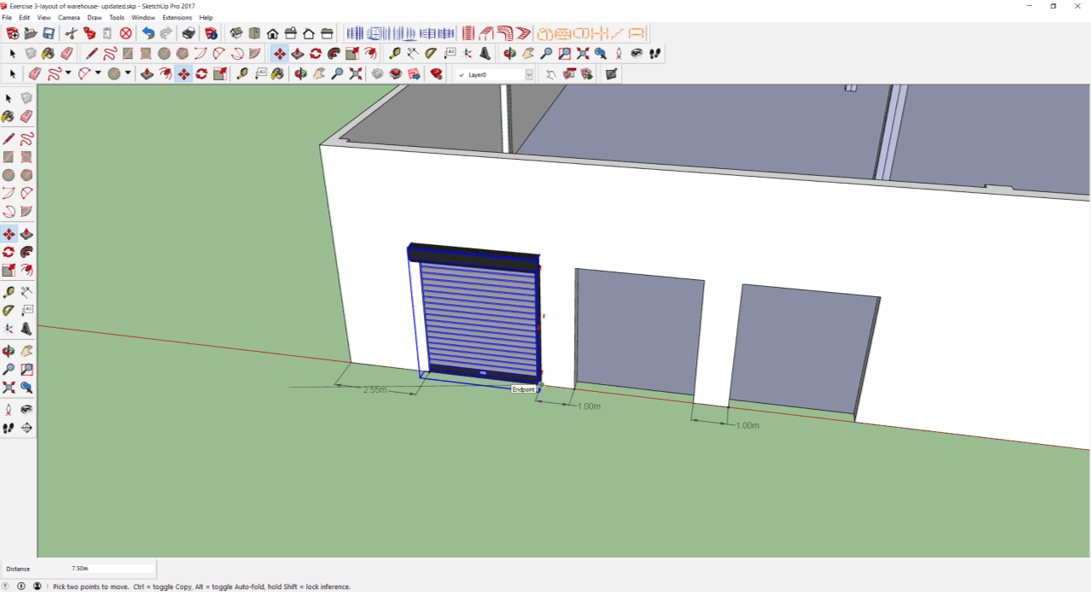
- Import the roller shutter door.
- Rotate the roller shutter door by 90 degree.
- Import the roller shutter door from https://3dwarehouse.sketchup.com/.
- Rotate the roller shutter door by 90 degree.
