How to draw warehouse floor plan layout with SketchUp?
In my previous 3PL (third party logistics) company, I gave multiple training on how to draw warehouse layout for different batches of colleagues. Often, the participants would be asking questions like “What is the fastest way to draw warehouse layout?” and “How long does it normally take to complete the warehouse modelling?”
There is no clear cut answer to these questions. In fact, my very first 3d model took me 4 days to complete the first draft. However, over the years, I realized there are certain ways we can model a warehouse to speed up the entire process.
Step 1. Know how big your warehouse building is and model it
- You can either draw from scratch the perimeter of the floor, or import the CAD drawing floor plan and create a surface from the CAD file. For the 2nd method, SketchUp Pro (paid version) provides the import function. SketchUp Make (free version) requires you to find and download an additional extension.
- The next part is to push up the walls and the pillars. If possible, create different layers for the floor, walls and pillars. Push up these elements to the actual warehouse’s height.
- Then you will need to create openings for roller shutter doors at the docking area, doors leading to the offices and windows. This will take some time.
- Again, there are some extensions which allow you to create holes in the walls for the additional components.
- Import these components from the SketchUp’s 3D Warehouse or if you are adventurous, try creating the components yourself.
- Save a copy of the model at this stage.

Step 2. Place your storage components into the warehouse
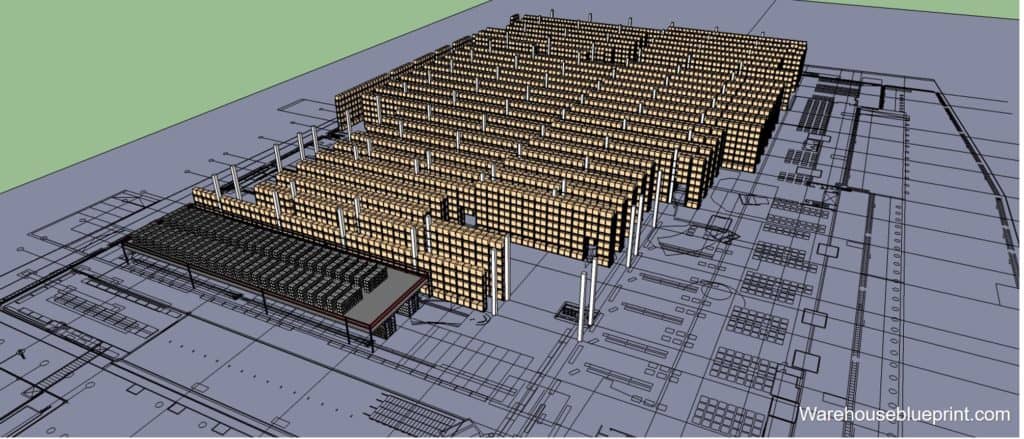
- In a warehouse environment, there will be various type of storage medium for storing products. These range from selective racking to flow racks to floor stacks. One critical thing you have to do at this point is to pin down the type of storage medium and the configuration.
- For example, your warehouse model requires selective racking. These are 6 level high with various beam heights. They are 2.7m width with the capability of storing 3 Euro pallets. Aside from these, you also have shelving and flow racks in different area of your warehouse.
- You will have to manually modify the pallet rack, flow rack and shelving according to the specific requirements. Even though you can import these components from your previous works, you still need to edit them manually.
- When the modification are completed, you can subsequently duplicate these storage medium across to different rows and bays.
- These will fill up approximately 70% to 80% of the warehouse.
- Do remember to place these different storage medium in different layers and hide them when not in use. This will help in the speed of your movement when you pan or orbit in the model environment.

Step 3. Put in conveyor and mezzanine if required
- Often, there will be conveyor systems and mezzanine in a warehouse. You will need to either model from scratch these items or import them from the SketchUp’s 3D Warehouse and modify them to your own dimensions.

Step 4. Insert MHE, offices, furniture
- Now that majority of the components are in place, the next step will be to add in smaller items such as MHE (material handling equipment) and operations offices.
- Rooms should be filled up with furniture such as workstations and cabinets.
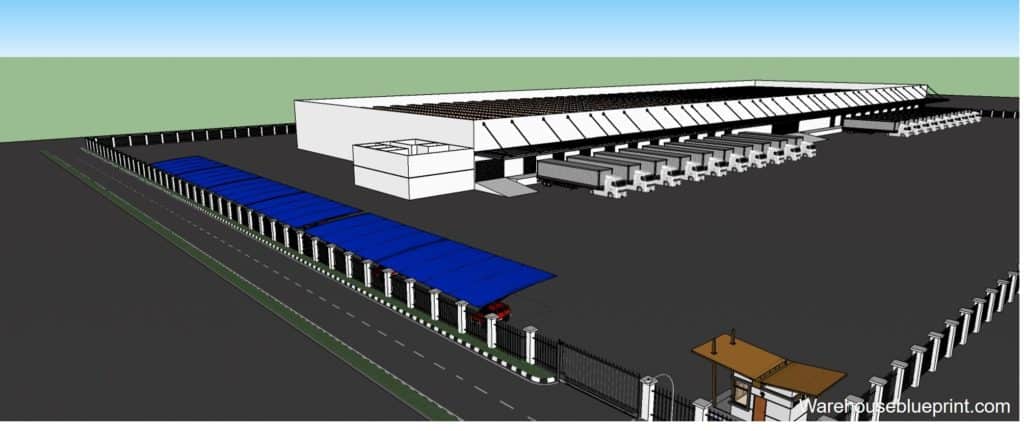
Step 5. Create the roof, gates, boundary walls and security guard post if required
- You should do this only when there is sufficient time.
- These elements will create a more realistic impression of the warehouse, but at the end of the day, what you want to show the client is how the interior of the warehouse looks like.
- The customer is interested to know how big certain area of the operations is going to be indicatively. He should also be interested to know how the material and human flows are and the potential bottleneck locations.
- The entire purpose to draw warehouse layout model is to allow the viewer appreciate the size of each area and where each process is within the building.

Step 6. Creating various scenes
- You want to show the client the entire warehouse from different angles. A good way is to orbit or move around till you have a satisfied view point and create a scene of that angle. Continue to do so till you have snapshots of the warehouse from a variety of them. You can export the picture files from these scenes after that.
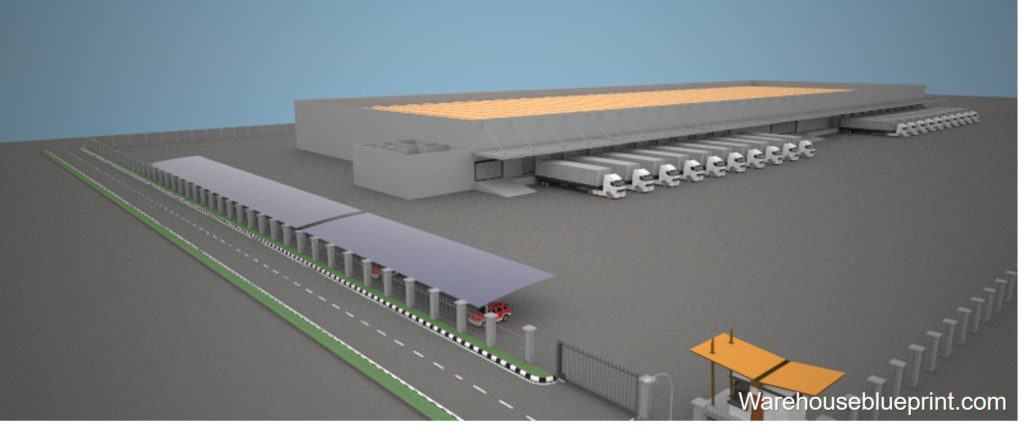
Step 7. Rendering of the model
- For this next step of rendering, it is an optional procedure. The objective of creating photo-realistic images is to create a deep impression to the client.
- Imagine your client is going through images of CAD drawings, and suddenly in front of his eyes are beautiful images of the entire warehouse layout in 3D real life – like.
- Due to this, you will be creating a lasting deep impression on your client.

Tips - Streamline workflow
- Now that you have an understanding on how to draw warehouse layout, the next step is how do you speed it up to be more efficient? How can you streamline the entire process so that you have more time for the preparation of the presentation?
- Do you remember the Step 1 of creating a warehouse building, Step 2 of modifying components to your specifications and placing them in the correct position and Step 3 of inserting the conveyor system and mezzanine?
- What if we are able to modify the pallet racking configuration by altering some dropdown menu and the changes can be seen within a few seconds?
- What if we are able to create the entire conveyor system using 4 preset conveyor components?
- Instead of hours performing the modification work, we can do it within a few minutes.
- Such is the power of dynamic components in SketchUp.
- Such is the power of WarehouseBlueprint Dynamic Components Extension.
- To solve my own problem of speeding up the modelling process, I have created the Dynamic Components. These have effectively ease Steps 1 to 3 and save me a lot of time.
![]()
Tips - Issue & Solution
- However, there is one issue.
- The entire basis of dynamic components is on the formulation behind the scene.
- Therefore, a change, even a minor one, will cause the entire component to recalculate. This takes time, especially if the formulations are complicated.
- One way to mitigate the recalculation of the formula is to "explode" the components.
- This will dissolve the formulations, and as a result, changes in locations within the warehouse will not create additional recalculation lead time.
- One factor to bear in mind is that because the components are being exploded, you will no longer be able to reconfigure the components.
- To fully benefit the dynamic components capability, this is what you should do.
- Edit and confirm the configuration of the dynamic components via the “component options” menu.
- "Explode" the components and “make component”.
- Now, you can do whatever you want with these components, be it duplicating them to multiple rows or moving them about in the warehouse model.
Summary for How to Draw Warehouse Layout
- Step 1 to 7 show a breakdown of each stage what you can do to build up the warehouse model.
- Essentially, this is the same as LEGO building concept.
- Build up the warehouse building and place the components into the building one at a time.
- Render the model to create photo-realistic images.
